Quick answer
Good documentation for a water damage claim starts before cleanup: photos of every affected room, the source of the leak and damaged belongings, then moisture readings, drying logs and receipts as work goes on. This guide is general information, not legal advice. Your policy and your adjuster decide what's covered; good records just make the conversation easier.
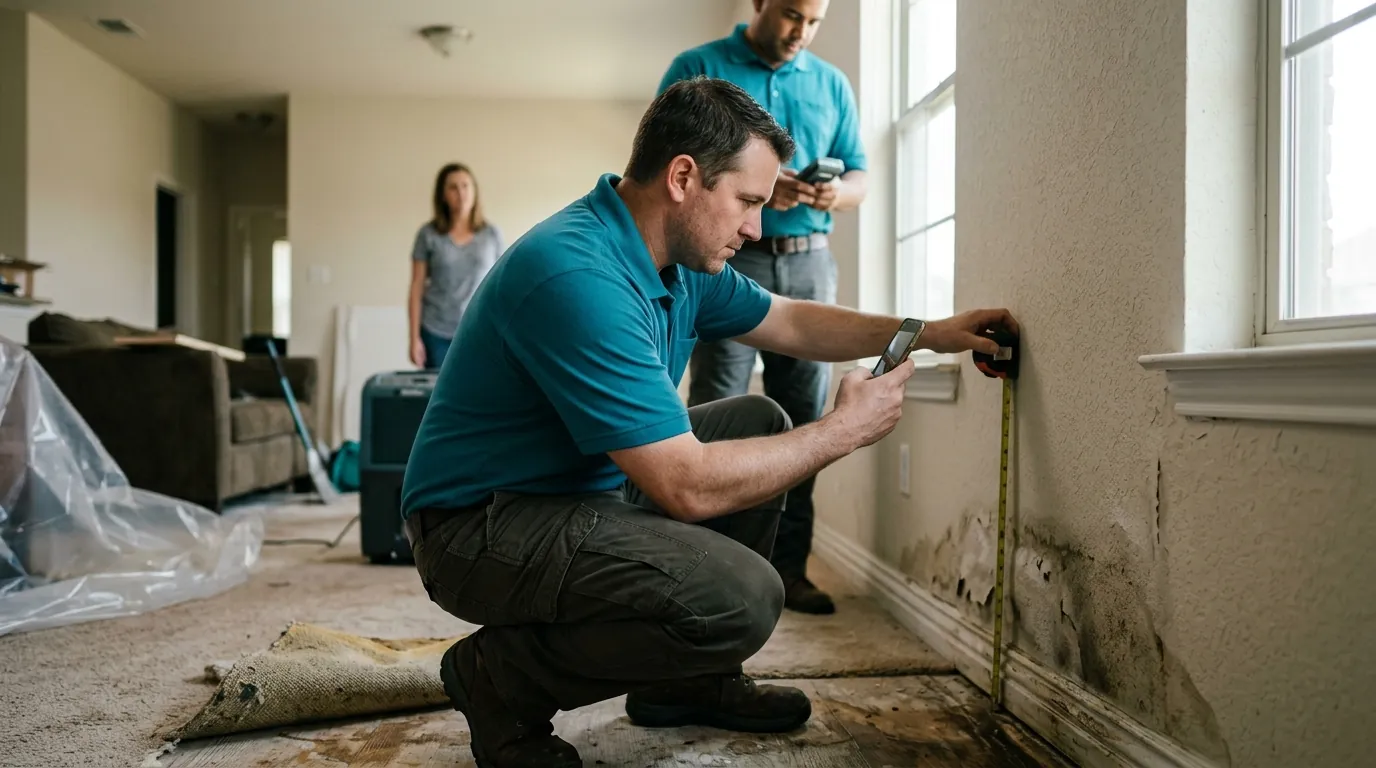
Photos Before Anything Moves
The most valuable photos are the ones taken before cleanup starts. Shoot each affected room wide from the doorway, then move in for close-ups: the water line on walls, the floor, baseboards, ceiling stains and damaged belongings. A video walking slowly through the house, narrating what you see, is a useful backup. Photograph the source. If a supply line split, a water heater failed or a pipe burst, take pictures of the failed part where it is, then keep it once it's removed. If water came through the roof, photograph the ceiling, the attic and the outside of the house from the ground.
- Wide shot of each room from the doorway
- Close-ups of water lines, stains and damaged floors
- The failed part, in place and after removal
- A narrated walk-through video
An Inventory of Damaged Belongings
Make a list of damaged items, room by room. For each one, note what it is, roughly when you bought it, what you paid if you remember, and its condition now. Photos tied to the list help. Brand names and model numbers on electronics and appliances are worth writing down. Don't throw anything away until it's been photographed and you've checked with your adjuster. Some items might be cleaned rather than replaced, and the adjuster may want to see them. If an item has to go for health reasons, such as sewage-soaked carpet, photograph it well and keep a small cut sample if you can.
Moisture Readings and Drying Logs
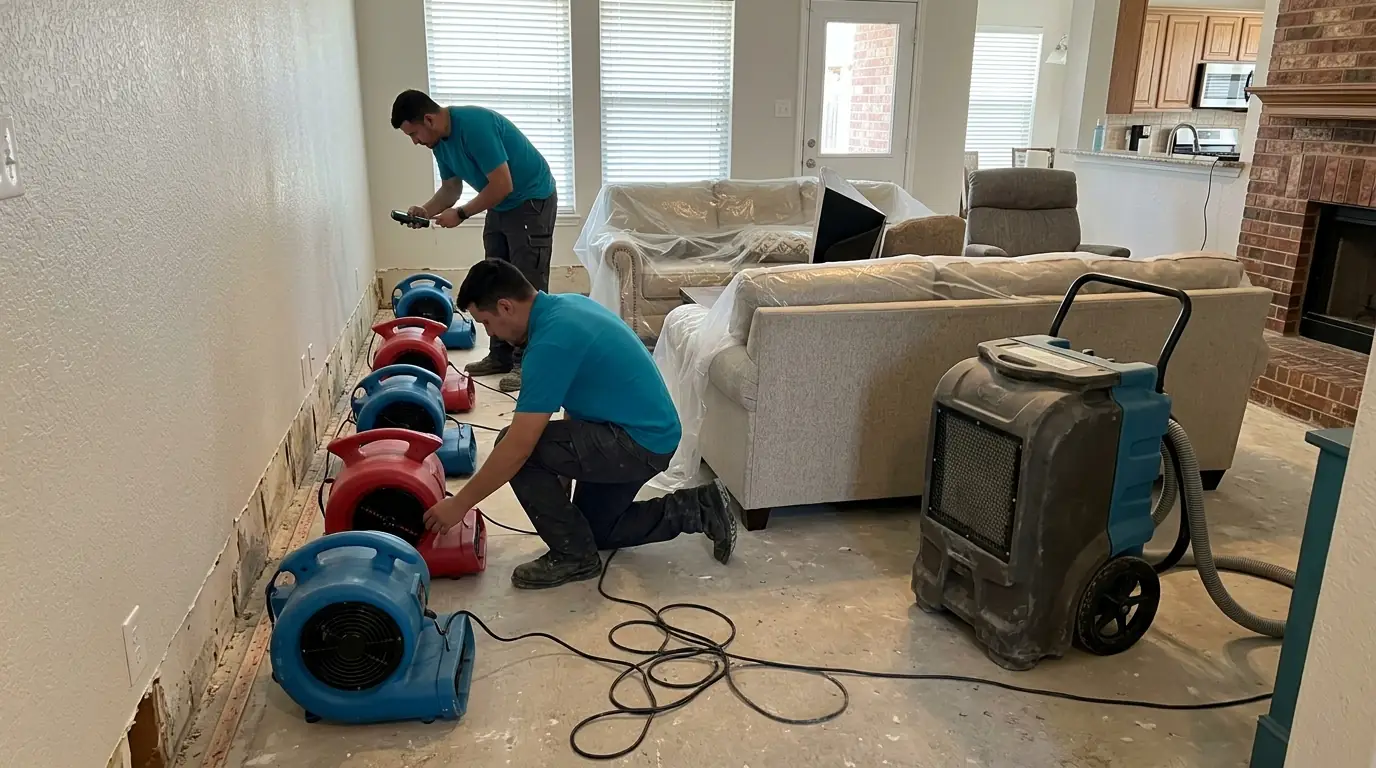
Photos show what water looked like. Moisture readings show where it actually went, including inside walls and under floors. During drying, readings are taken at the same points each day and logged with the date, location and value, along with readings from a dry reference area of the house. On our jobs, we keep photos, moisture readings and drying logs that you can share with your adjuster. The log shows when materials came back to dry, which supports decisions about what was removed and when walls could be closed. Structural drying and moisture inspection both produce this kind of record.
Water Still Spreading While You Read This?
Shut off the source if you can, then call. We answer any hour and walk you through the next steps.
Receipts and Out-of-Pocket Costs
Keep every receipt connected to the damage. That includes buckets, towels, fans or a wet vac you bought in the first hours, a plumber's invoice for fixing the leak, and costs for meals or a hotel if the house wasn't livable. Store them in one folder, paper or digital. If your policy includes additional living expenses, those receipts matter. Even if it doesn't, a complete record of what you spent helps you understand the total cost of the event. Write a short note on each receipt about what it was for.
- Supplies bought in the first hours
- Plumber and roofer invoices
- Hotel, meals and other living costs
- Restoration and repair invoices
A Timeline in Your Own Words
Write down what happened while it's fresh: when you noticed the water, what you did, who you called and when. Note dates of visits, calls with your insurer, and any decisions made. A simple dated list in a notebook or on your phone works well. A timeline helps when questions come up weeks later about how long water ran or when drying started. Our guide on the first hour after a leak covers what to do in that early window, and those first actions belong on the timeline too.
Mistakes That Make a Claim Harder
A few common mistakes leave gaps in the record. Throwing out damaged items before they're photographed is the biggest one. Waiting days to start drying is another, because it can turn a contained loss into a larger one and raise questions about what happened when. Painting over a stain, replacing flooring before readings show the slab is dry, or making permanent repairs before the adjuster has seen the damage can also complicate things. None of this is legal advice, and your policy and adjuster decide what applies. The safest habit is simple: photograph first, keep the damaged items and failed parts, and write everything down.
Keeping the File Organized
Put everything in one place: photos, video, the inventory, receipts, the timeline, moisture logs and any letters or emails from your insurer. Back up digital copies to a cloud folder or send them to yourself, so nothing is lost if a phone breaks. When the repair is finished, keep the file with your house records. It helps if you sell, or if questions come up later about that area of the house. If the damage involved a storm, our hail storm leak check guide covers what to look for and photograph after the weather passes. For a full drying and repair job, water damage restoration starts with documenting the damage.
Questions About This Topic
Take photos first, as long as it's safe. Stopping the water and making the area electrically safe come first, but before you mop, move furniture or pull carpet, take wide and close-up pictures. Photos of the damage at its worst are the hardest record to recreate later.
It's a good idea. The failed part shows what caused the water damage, which can matter for a claim. Photograph it in place, then bag and label it once it's removed. Ask your adjuster before throwing it away.
A drying log records moisture readings taken at the same spots each day during drying, compared with a dry reference area. It shows where water was trapped and when materials reached dry. It helps explain why certain materials were removed and when the structure was ready for repair.
Keep them at least until the claim is closed and the repairs are finished, and ideally with your permanent house records. Records of past water damage and the drying that followed can be useful when you sell or if a related question comes up years later.
Yes. Note the date, the name of the person you spoke with and what was discussed or decided. Follow up important calls with a short email summarizing what was said. A clear record of conversations helps avoid confusion later about what was agreed.
Services Related to This Guide
Need Someone to Look at It Today?
We answer around the clock for Fort Worth and the surrounding area.